How To Add Fantom To MetaMask
- Alfonso Lua
- May 8, 2022
- 4 min read

TL;DR
MetaMask is a crypto wallet that enables you to store and manage your crypto assets. With a single click, you can easily access all your tokens, and contracts. Metamask connects to the Ethereum mainnet by default.
To connect a network like Fantom (FTM) you will need to add a few pieces of information to Metamask which includes, chain ID, custom RPC URL, and a network name. All this will be made avialble to you down below.
Another amazing thing about this tutorial is that adding a chain to Metamask is a transferable skill. You can follow the same steps and add other EVM networks like BNB Smart Chain or Polygon (MATIC) among others.
Introduction
In order to access the Fantom ecosystem, you must have a wallet that is comaptible with this blockchain. However, MetaMask does not have Fantom as a default chain therefore you must add the network. Fortunately for us, it is a simple task that can be done fairly quickly.
Install and Setup MetaMask
To setup MetaMask follow the steps down below.
Download
You can download MetaMask on Chrome, IOS, or Android on their official website. Make sure you check that you are on the official website so that you don't download the wrong one. Click on [Install MetaMask for Chrome/IOS/Andriod]

Install
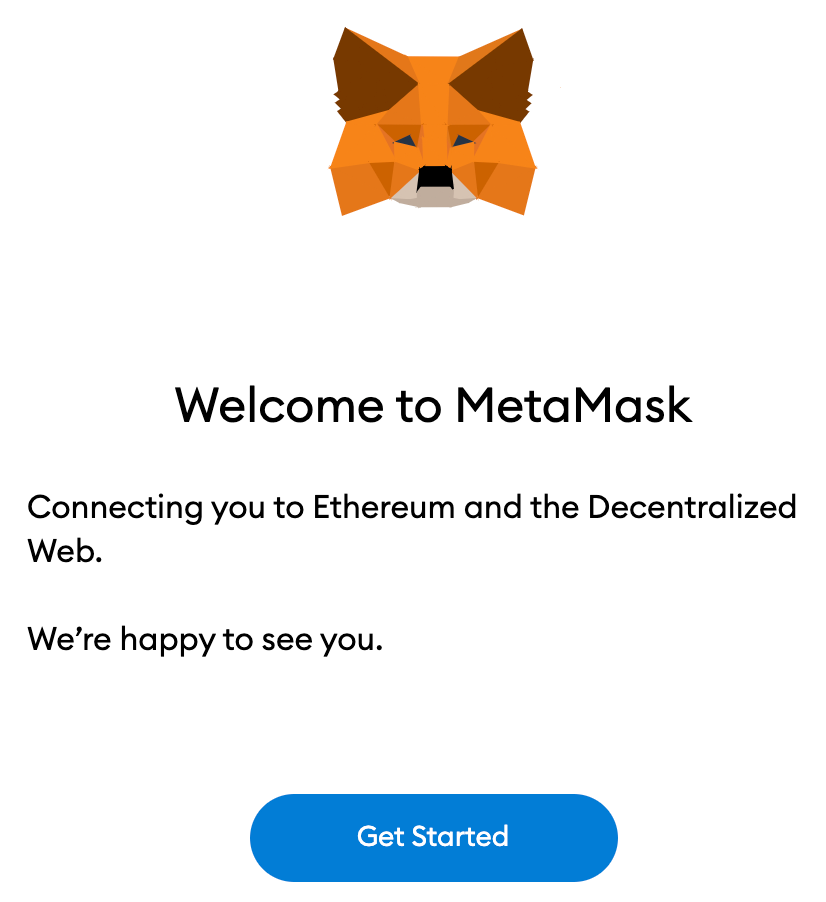
Once you have successfully installed MetaMask you should recieve the following message. This is the Welcome page. Click [Get Started] to continue.
Create/Import
If you haven't done so already you can create a MetaMask wallet by clicking on [Create a Wallet]. If you already have an existing wallet you can click on [Import Wallet] then sign in with your seed phrase.

Data
You can opt-in or out when it comes to sharing anonymous data usage with MetaMask. Keep in mind that selecting [No Thanks] or [I Agree] will have no affect on your wallet usage.

Password
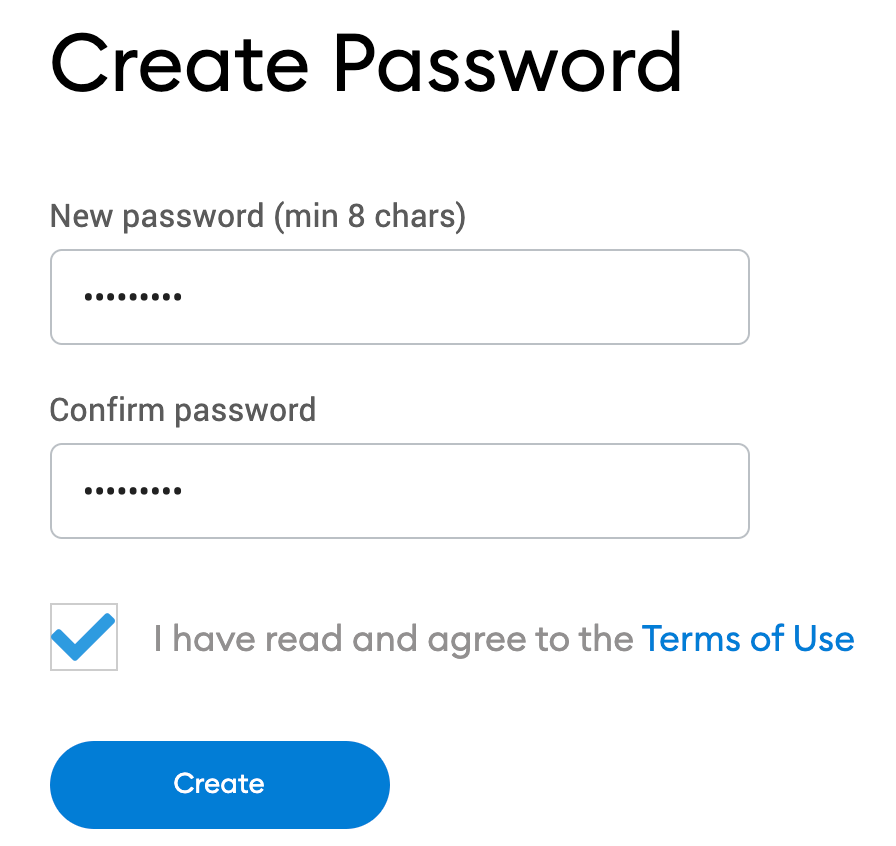
You will be asked to create a password for your MetaMask wallet. This is not your seed phrase it is just a way to prevent people from logging onto your MetaMask on your device. Make sure to write down your password, but if you forget it you can always retrieve your account with your seed phrase.
Seed Phrase Information
After deciding your password, MetaMask will direct you to another page regarding seed phrase information. MetaMask will provide with useful information regarding seed phrases. Make sure to read through it if you are not familiar with how it works.

Seed Phrase
You will then see your seed phrase. Clock on the lock button to reveal the words. Make sure your write down the words in the correct order and keep it in a safe place. Remember this is the way you can recover or access your crypto wallet. If you lose the seed phrase you could lose all your funds in your wallet. No pressure.
Select [Next] once you are done.

Confrim Seed Phrase
As a precaution that you have written down or copied your seed phrase in order, MetaMask will prompt you to select your seed phrase in the correct order. Click [Confirm] once you are done.

Congratulations
Congrats, your new MetaMask wallet is ready to be used. Click [All Done] to view your crypto wallet.

Pin MetaMask
Once you finish, you can pin MetaMask onto your Chrome browser by selecting the puzzzle and clicking on the pin icon next to MetaMask. You will note that MetaMask is connected to Ethereum by default. Next, we will go over on how to connect to the Fantom network.

Adding Fantom Network To The Wallet
Adding the Fantom network onto MetaMask invovled adding some details first.
Open MetaMask
First, you are going to want to open MetaMask on your browser and select the network drop down menu.

Add Network
Once on the network drop down menu, select [Add Network]

Add Following Details
Add the following details on the [Add a Network] page. Once done click [Save].
Network Name | Fantom |
New RPC URL | Choose any of the following: https://rpc.ftm.tools/ https://rpc.fantom.network/ https://rpc2.fantom.network/ https://rpc3.fantom.network/ |
Chain ID | 250 |
Currency Symbol | FTM |
Block Explorer URL | https://ftmscan.com/ |

Success
You have successfully added Fantom network to MetaMask.
Adding Fantom Tokens To MetaMask
For any other Tokens that are not FTM, you will need to add them manually. Note that your MetaMask wallet can still receive tokens but they won't appear until you add them. For this example we will import USDC that is comptatible with the Fantom network.
FTMScan
Head over to FTMScan to find the USD Coin token contract and details needed to import it to MetaMask. If you can't find the token on FTMScan, go over to their website or social media channels and find their contract address there. *Note be careful to only copy the official contract addressa and beware of scams.

Import Token
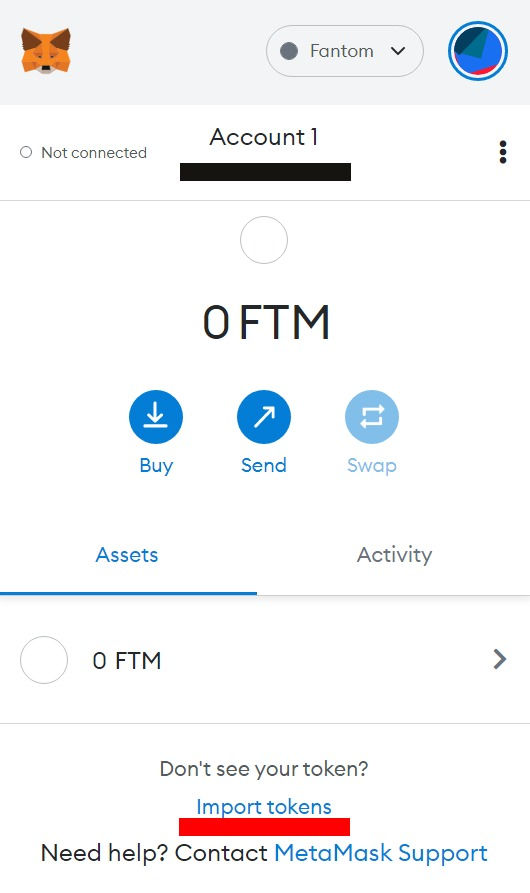
Once you have found the details, head over to your MetaMask wallet and click [Import tokens].
Fill Token Address
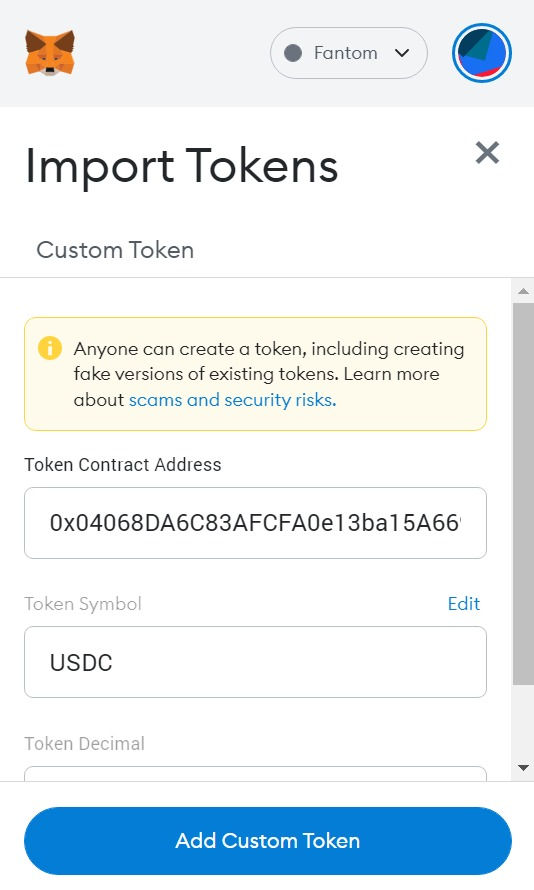
Copy the token's address and MetaMask should fill in the rest. If not, you can manually input the rest of the details. Once finished, click on [Add Custom Token].
Import Token
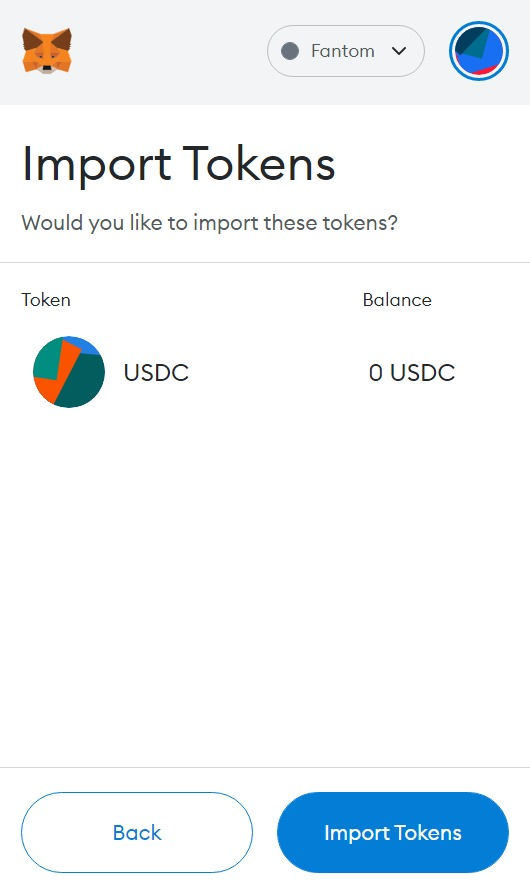
Once added, you can select [Import Token].
Congrats
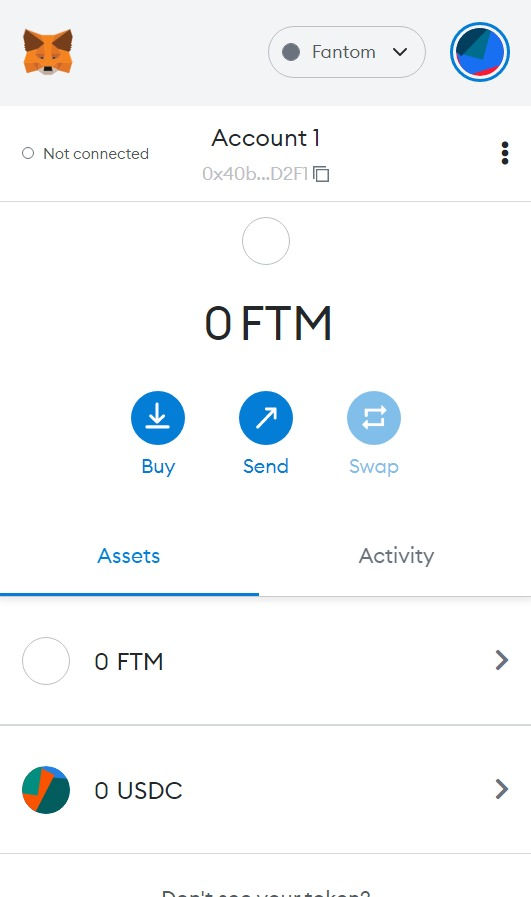
The token will now appear on MetaMask wallet along with the balance.
Final Thoughts
With Fantom added to your MetaMask you are free to start trading Fantom tokens, collect NFTs, or access its Defi dApps. You can even swap for tokens without leaving your wallet. MetaMask is compatible with many more chains and the entire Ethereum Virtual Machine (EVM) network. By following this guide you will now be set up to add more chains in the future and to start exploring their ecosystems.


Comments